I have dabbled with making fabric covered buttons before, using a button tool, which involves a level of manual dexterity that I clearly don't possess. So results have been, um,
varied. That didn't stop me from buying one of those tools at the weekend - I am
stubborn determined to master it.
So when I found a tutorial on
Craft blog that showed how to make
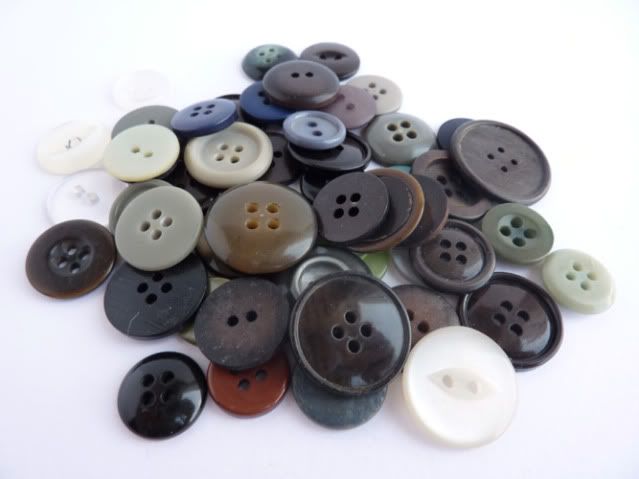
fabric covered buttons without using the button tool, I was keen to try it out. The tutorial uses shank buttons, but as I knew I wanted to make fabric covered button earrings, I needed to find some old buttons which were flat. I have quite a lot to choose from:
Eventually I found two smallish buttons which matched in size - one was quite scratched, so couldn't really be used anyway.
Aside from button(s), you will also need:
Fabric (don't choose anything too silky or slippy - see more about this later)
Small piece of felt
Scissors, thread, a needle
Fabric glue
Findings (depending on what you will use the fabric covered buttons for - earring posts, brooch back etc.) and strong glue to attach
***What to do***
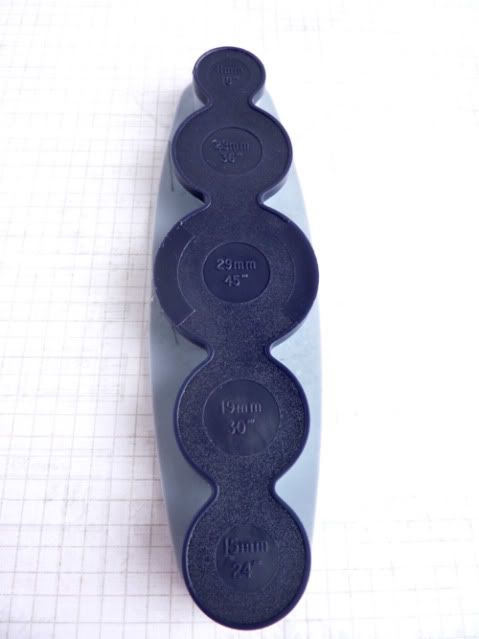
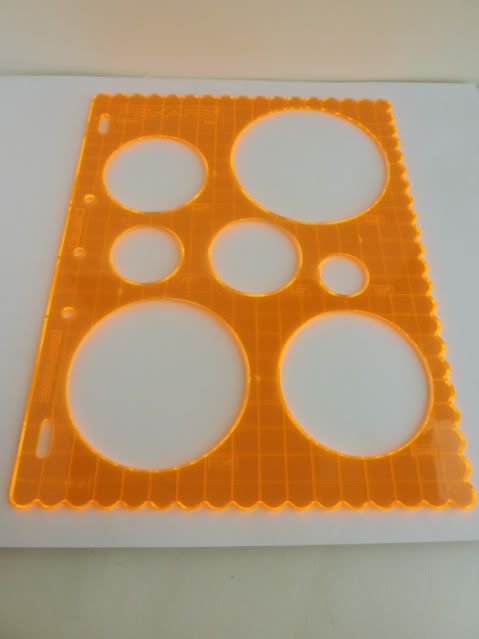
1. Cut your fabric into a circle measuring twice the diameter of your chosen button. If you are rubbish at cutting out circles, use something to draw round - I use this handy dandy orange doohicky (that's probably not its official brand name):
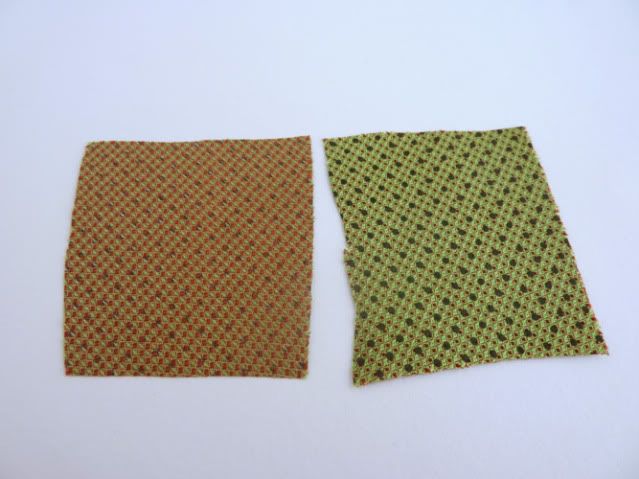
I used a piece of recycled/upcycled/repurposed neck tie for this - it has a nice sheen to it, and the pattern is pretty on both sides.
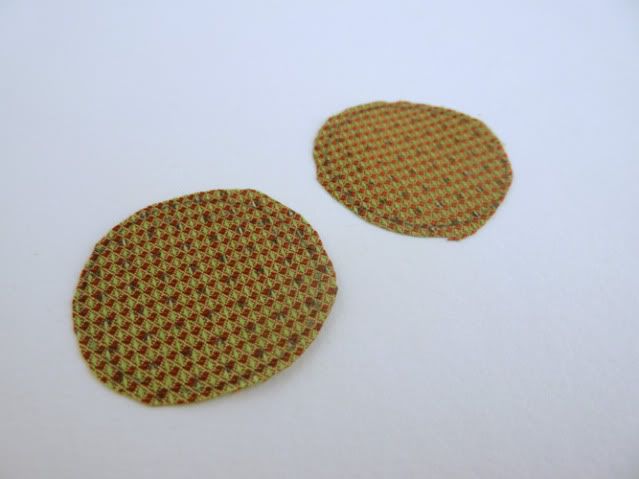
I chose the 'right side' and drew my circles, then cut them out.
Not only do I have no drawing skills, my cutting skills are not great either.
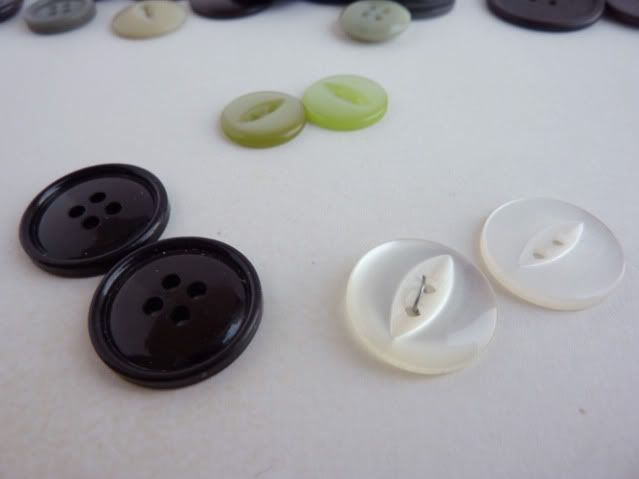
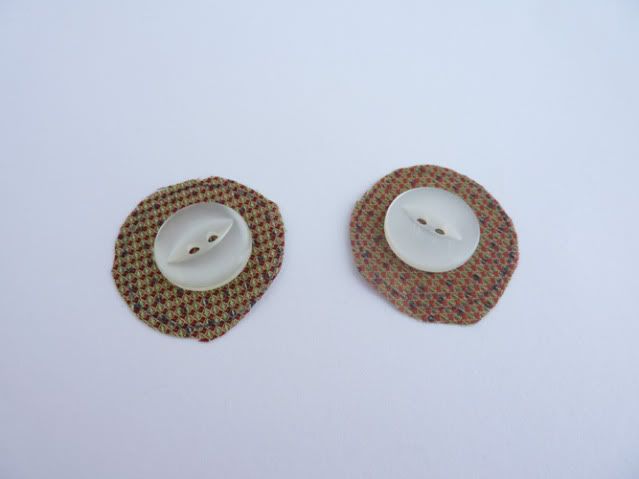
If you like, you can check the size of the circles with the buttons. And if you are making two fabric buttons, you can make them look like slightly creepy eyes. This step is optional. :-)
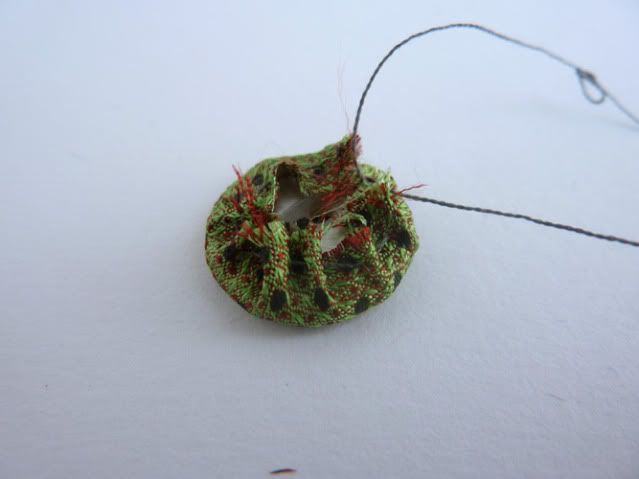
2. Using running stitch, sew round the edge of your fabric circle. Note: if you have chosen a fabric which frays (don't choose a fabric which frays - take my word for it), make sure you sew further from the edge.
If you knot the thread, don't pull it all the way through - this will help you gather the fabric later.
3. Make sure you have the fabric wrong side up, and place the button inside the fabric circle. Pull the threads carefully to gather the fabric round the button.
You see now why I said 'Don't choose a fabric which frays'?
You can move the button about inside the fabric to make sure it is centred. Note: if you are making more than one fabric covered button, make sure that the buttons are the same way up inside the fabric. If they are not, you may end up with one flat button and one slightly domed button. [/voice of experience]
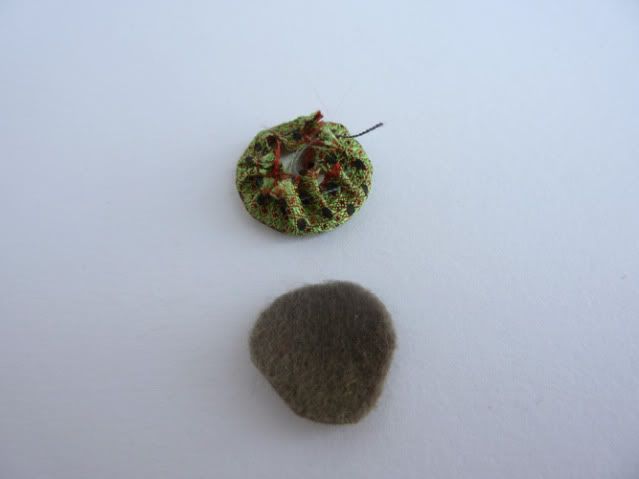
4. When you are happy that the button is centred, secure the gathered fabric by knotting the threads together. Snip off any excess thread.
5. Cut out a small circle* of felt, big enough to cover the gathered fabric at the back of the button.
*or your interpretation of a circle - let's be creative here, shall we? ;-)
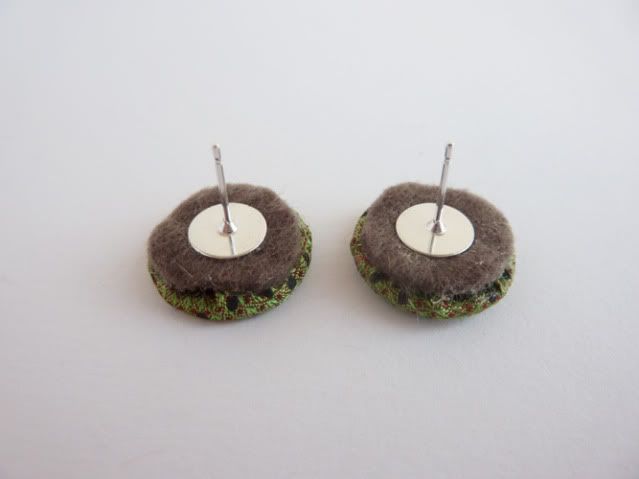
6. Glue the felt circle in place. You might need to press it down for a while to make sure that it covers the gathers.
7.Once the glue has dried, glue the findings onto the buttons.
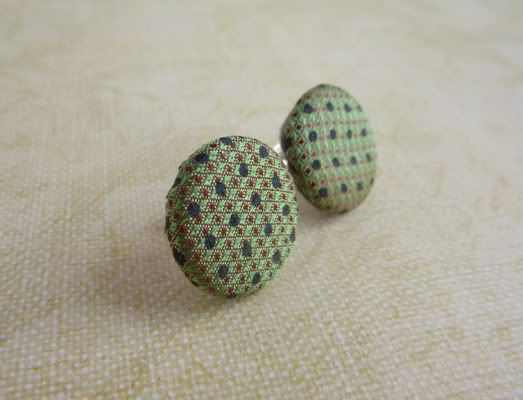
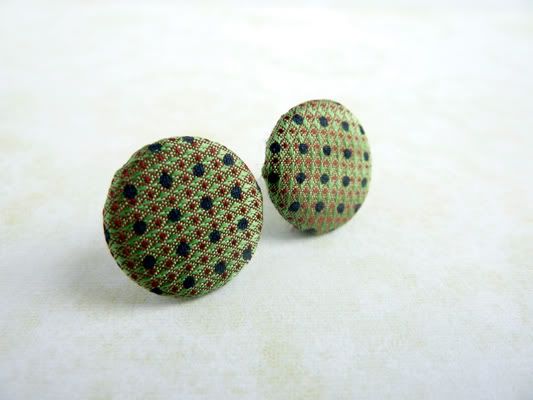
The finished earrings!
I have to say, although I love the idea of using repurposed fabric from neck ties, the slipperiness of the fabric made it difficult to work with, both in this tutorial and in the button tool. I think using some sort of interfacing might help, but it would add extra thickness to the buttons (which might not be a bad thing). The bonus of using fabric from neck ties is that you get some interfacing fabric in it, so maybe that's something to try. I might report back on that one.
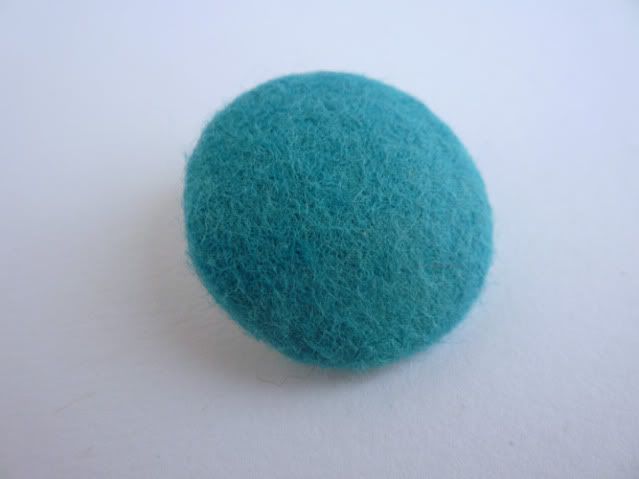
As for the button tool, I *can* get it to work with less flimsy fabrics - for example, felt.
Mmmm...turquoise.
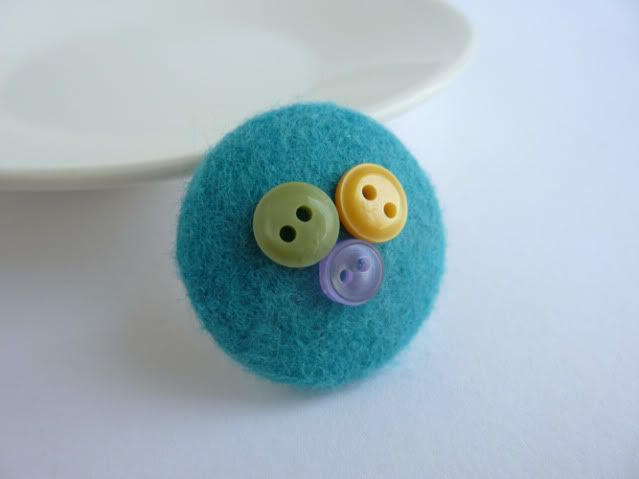
And once you have your felt covered button, you can decorate it...with more buttons!
The purple button really is tiny - it has a diameter of about 5mm. Micro-buttons!
If you use my tutorial, I would love to see what you make - please post your links in the comments section below. Have (buttony) fun! :-)

Comments
Post a Comment