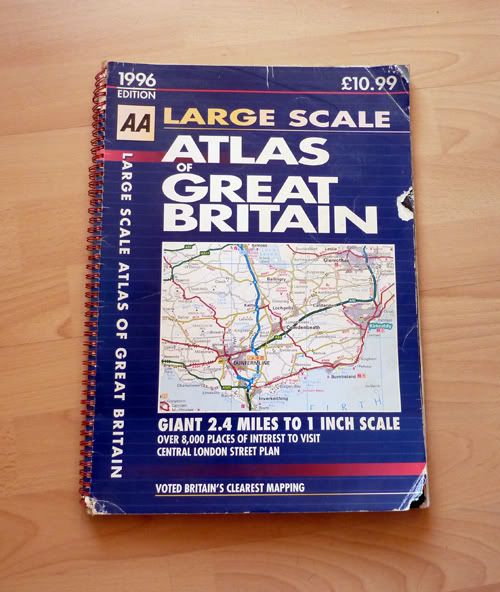
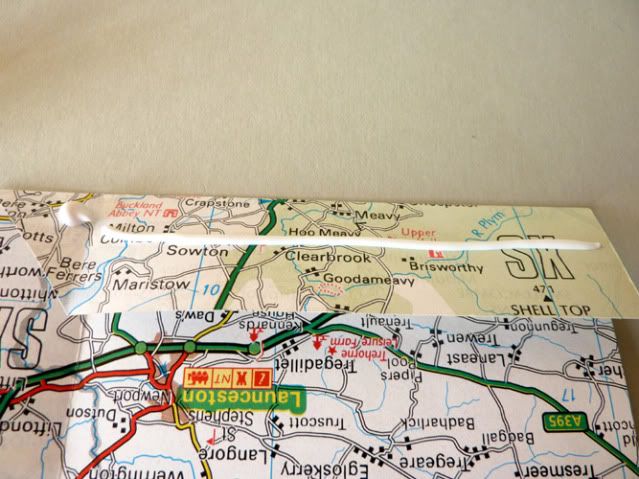
I think this is the first time I've attempted a tutorial, and after half an hour of messing about and swearing, I realise why that is. :DI decided that I wanted to make some gift bags for my jewellery, and for some reason, decided I needed a very specific material for the bags. I *needed* an out-of-date UK road atlas which I found, despite the best efforts of my cats:
So, here goes. I should point out that I followed this tutorial on Cut out and Keep, and just added my own special touch to it. *ahem*
(Just in case you didn't know what these look like - man, I'm so doopid. OK, moving on...)
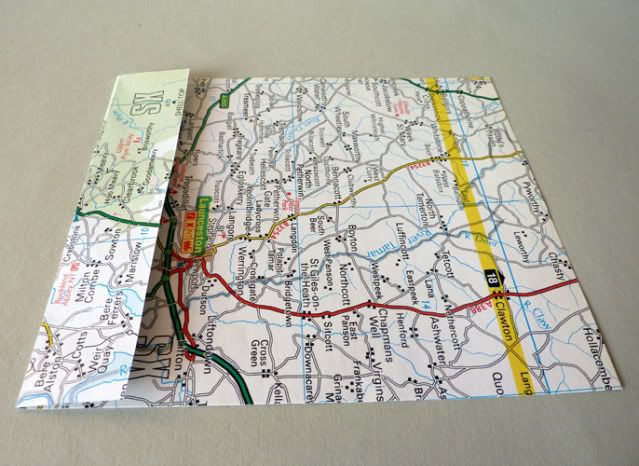
3. Fold the bottom of the paper up by about the same amount and crease well:

![]()
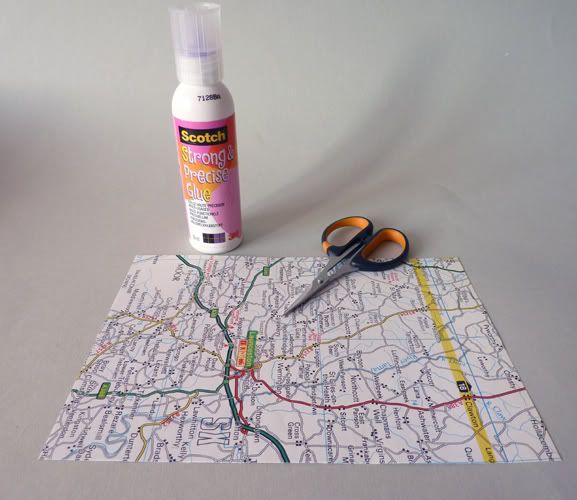
What you will need:
Paper - gift wrap, old magazine pages, whatever you like.
Glue
Scissors
(Just in case you didn't know what these look like - man, I'm so doopid. OK, moving on...)
- Cut the paper to the right size - it needs to be double the width of whatever you want to put in the bag, plus some room all round for 'seams'.
- Fold one side in about an inch or so and crease it well:
3. Fold the bottom of the paper up by about the same amount and crease well:
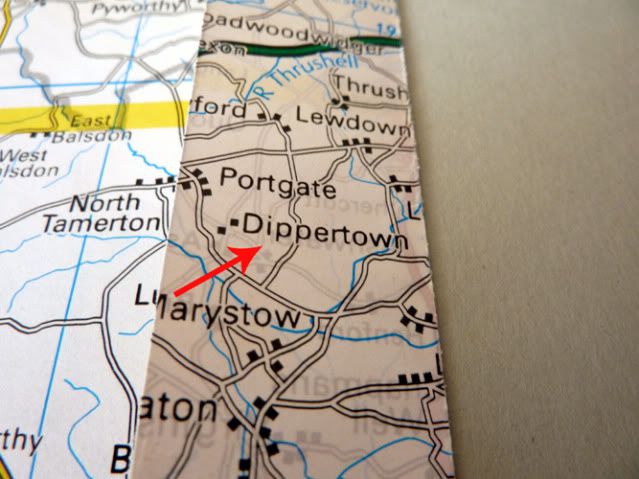
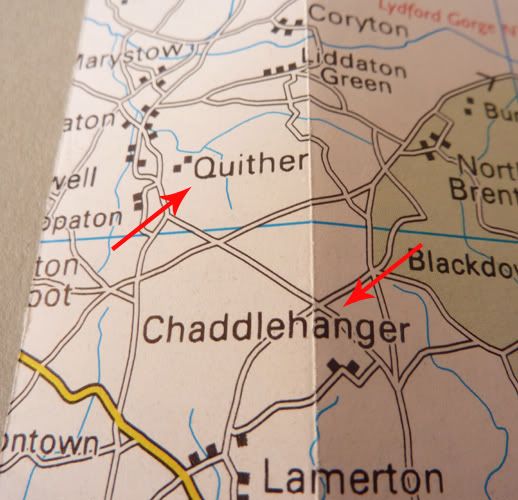
4. Suddenly get distracted by the thought that there might be amusing place names on the paper, unfold it again and search:
5. Decide that 'Chaddlehanger' is your new insult of the week and resolve to call at least three people it by Friday.
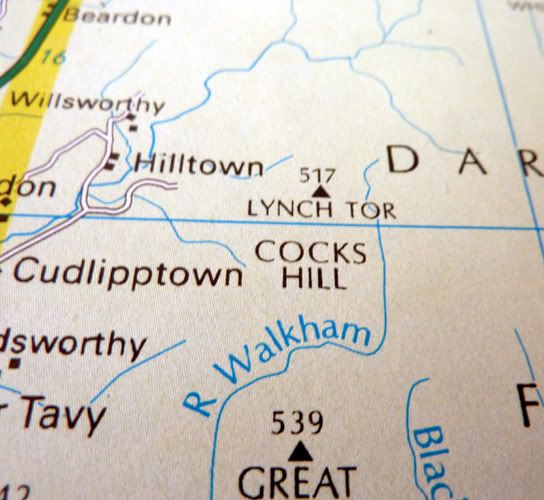
6. Make sudden discovery which causes an attack of childish sniggering:
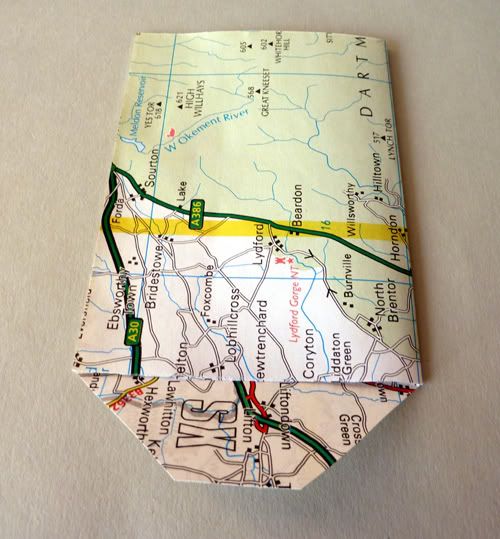
7. Still giggling slightly, drag one's attention back to the job in hand *snigger* and continue with tutorial by folding sheet of paper in half and creasing it well:
8. Open paper back out again and cut out the far right hand 'tab' (rectangle shape) and two triangles to form a 'tab':
Note: This is a stunt paper, as I messed up the first one by not cutting the triangles big enough, and I glued it before I'd realised my mistake. So, make sure you use the folds as a guide for the triangles - large triangle goes from bottom diagonally across the fold, the smaller one goes from the bottom of the paper up to the crease diagonally. OK? Good, let's keep going!
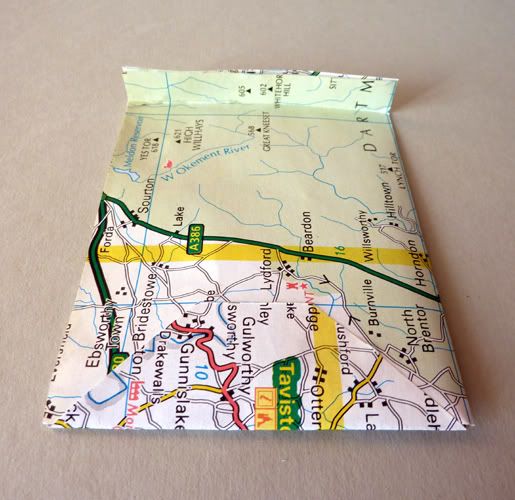
9. Fold side flap back in and apply glue to flap (paper turned 90 degrees so I could apply glue correctly):
10. Fold paper in half to glue in place:
11. Apply glue to bottom flap and fold up to glue into place:
12. Praise self for having produced slightly useful, if confusing, tutorial.
13.Remove glue from background card, ironing board multi-purpose craft work table, fingernails, hair.
14. Realise cup of tea has gone cold but drink it anyway, whilst admiring handiwork. I am clearly easily pleased. :D
Fin.
Love this! You're easily sidetracked, aren't you!
ReplyDelete